Showing posts with label crafting. Show all posts

Wednesday, August 20, 2014

B is for BEAR!

The alphabet...oh my...the alphabet. Twenty-six letters to form all communication. Little Miss is on the road of learning it and I am on the road of learning how to teach it. I have a new respect for teachers. I have always respected those in the profession, but now hold them in even higher respect. Teaching is not easy.

We have already worked with the letter A but I failed to take any photos while we practiced it. I, generally, fail at snagging photos while I am focused on my children. But 'B', I was more on top of things. But will admit, not a single one was edited for this post. First step for me was Googling pages for tracing the letter B. I found these two printables in the images that fit with what I wanted to teach. Little Miss did a great job completing them.
After we traced and wrote words on our dry ease board we headed into crafting. My daughter's favorite part of learning. I had no real plan or idea what we should make. The krafty part of my brain started spinning. I pulled out brown paper, pink paper, glue, safety scissors, google eyes, and a black small pom-pom. I thought about the parts of a bear and cut out crude shapes for those parts.

These really are only a fast attempt at crafting a bear. You can switch any of the colors to suit your own little crafter. Little Miss likes pink and brown. In the above picture, the parts are not glued down yet, I wanted to make sure I made them small enough to fit on the paper. I handed the glue stick over and watched the little creative mind work.
She was so happy to have the control of the glue and of the project. I did not tell her where the parts went, just what part of the bear they were.When she finished with the bear, she decided, "girly bear's have bows." I cut out a quick pink bow to make the girl bear complete.
The moment it was finished, we used "sticky tape" to hang it up on the wall by the dinner table. She loves to see it hung there and was so happy to show Daddy at dinner time.
It is not much, but it was enough for her. Please, feel free to use this idea when teaching the Letter B to a child. The BEAR craft, krafted me through a moment of life's kraziness.

Kelly

Thursday, February 20, 2014

Try it Thursday with Violet's Buds

I am so happy to have a guest this week teaching us how to make our very own hoop art!! I had the privilege of her teaching me in person!! It was so enjoyable to be able to keep a outfit of my sons in such a wonderful way! Welcome Melanie!


Thank you Kelly. It is hard to believe that next month my little baby will be four years old! I'm sure I'm not alone with wanting to keep baby clothes, especially the ones with sentimental value. Rather than leaving everything packed in a box, I wanted to do something special with some of her clothes and turn it into wall art for her room. The process is fairly easy, but the hardest part for me was actually cutting up the clothes!

"The Accident" design from Threadless
I selected one of my favorite onesies to turn into hoop art. I bought this design while I was pregnant so she could match her daddy. Here they are when she was around 1 years old in their coordinating shirts.
 

Thursday, January 30, 2014

Try it Thursday: Infinity Scarf/Cowl Tutorial by Meli's Yarnworks


It has been a bit since I had a 'Try it Thursday' but I saw this wonderful tutorial by my friend Melli, of Melli's YarnWorks. I asked her if she would like to be a guest on my blog to share her tutorial with all of you. And she was happy to. I am so honored to share my blog with a talented friend! Melli's blogs all yours!


Thank you so much Kelly! Okay, everyone for this tutorial you will need:
  • 
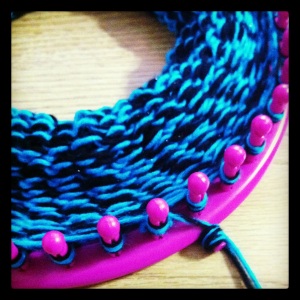
Largest round loom in the set (mine is a 41 peg round loom)
  • 
Loom Knitting Hook
Crochet Hook (I used a size J)

  • Yarn (you can double or single strand, any size yarn will work)

To do this tutorial you will need to know how to make the following stitches: E-wrap method, knit stitch, purl stitch, and how to bind off/single crochet off (all of these stitches have been linked to YouTube tutorial videos for your convenience).


To begin, cast on and e-wrap your first row. E-wrap your second row and start your project just like you would a hat.

Continue e-wrapping and creating rows until your project reaches between 14 and 18 inches in length. The length is up to you, the cowl will just be shorter the less rows you make.


To finish your piece, simply take your crochet hook, and crochet off your project. Because it is a cowl, you do not want to completely shut off the other end. Be sure to make your stitches as loose as possible! This end will be a bit tighter than your beginning opening, but the looser your stitches, the more it will remedy this problem.


Make sure to tie off both ends. The two ends will have a rolled brim to them. If you do not want this to happen, you can do four rows of knit 2 pegs purl 2 pegs at the beginning of the piece and at the end. This will reduce that curling/rolled brim effect. I have done it both ways, and honestly prefer to the rolled brims on both sides!


And there you have it, and easy cowl/infinity scarf made on your round looms! If you want to make a children’s size you can always go down round loom sizes.
If you have any questions feel free to ask! You can find me FACEBOOK | SHOP BLOG

Wow! This looks amazingly fun to make!! I think I will give it a Try today!! thank you again Melli!! Happy Thursday!!

Kelly

Tuesday, January 21, 2014

Machine, Spots, and Stripes for #creativedaily

I am so loving #creativedaily !! It is super fun to stretch my photography and creativity!! You can join in on this photo a day challenge anytime!! Lu & Ed is hosting it on instagram, facebook, and twitter - well on any social media. You can read the rules and the prompts: HERE 
I am so excited to catch you all up on the last three days prompts!! 

Day 18: machine


This the very end of my sewing machine! I love to put stickers of my favorite places or shops on my machine!! 

Day 19 - Spots


I finished the adorable Baby Bunny for a friend of mine. She is made of the cutest little pink white polka-dot socks! She is so fun to squeeze! 

Day 20 - Stripes


I was able to finish two striped baby bunnies!! I am so in love with their cute little tails!! They are so soft!! 

Remember, you can join in too at any time!! Just click this LINK - it will take you where you need to go! 


Kelly

Thursday, January 16, 2014

Workspace - #creativedaily

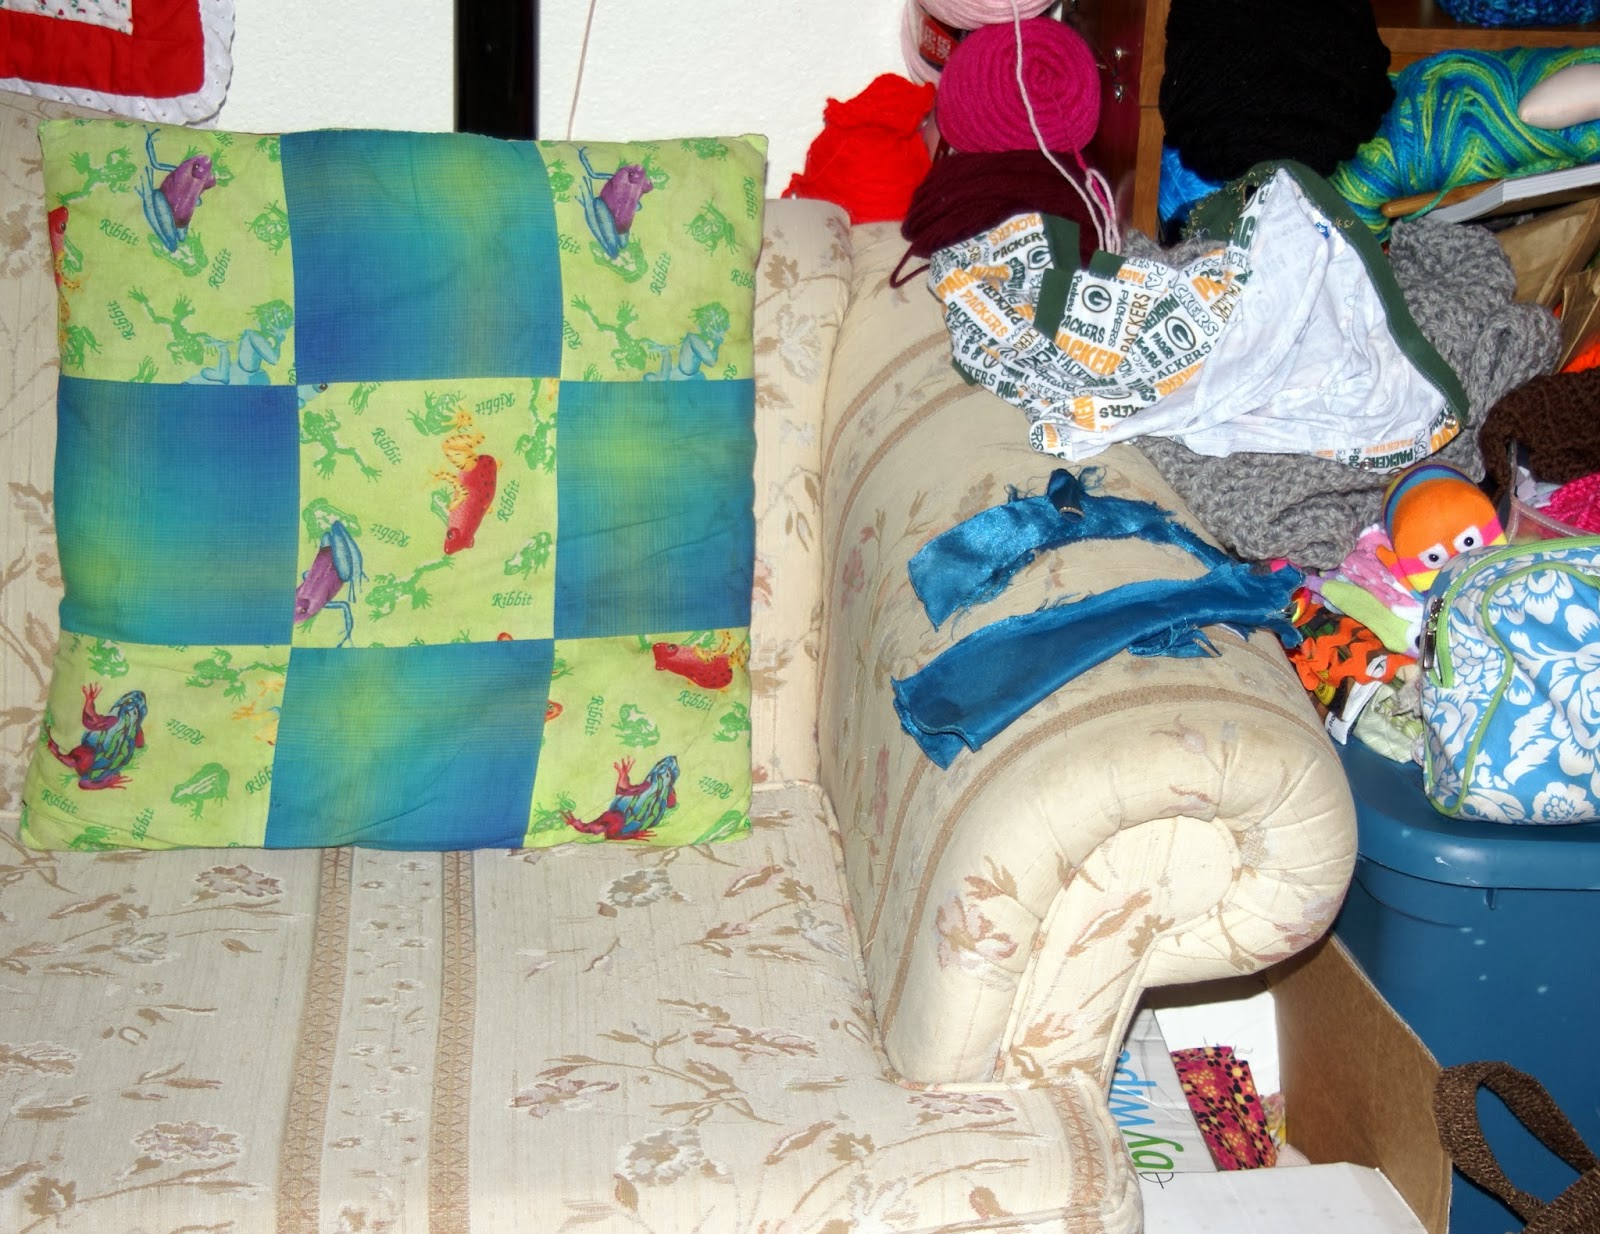
Today's photo challenge prompt is 'workspace'. Well, I tell you my workspace is really wherever I can craft. I work at our dinning table, on the floor, in my room on the bed, but mostly I sit in the corner of my couch. It works the best as I am out in the room with my tykes and I have access to all my supplies. 

 
My couch corner/craft corner currently a chaotic organized mess as I am working on three different orders and a special project for my self.  And Little Miss ripped one of her princess Barbie doll dresses so that is taken apart so that I can make a pattern to make her another dress. I love this space in my house...it makes hand sewing and yarn works relaxing. 
 
Kelly
 

Thursday, December 19, 2013

A Crafting Queen has retired...

A princess and the Queen.
 
 
This is my late Grandmama. She was a tower of strength and endurance. She was born August 8, 1928 and passed away from natural causes December 13, 2013. 

I do apologize for going a bit quiet on all of my social medias, store, and here on the blog. This news hit me hard...it is still hard. She was the 'go-to' crafting adviser for when my Mom did not know. Grandmama taught my Mother, and my Mother taught me...and one day I plan on teaching my Little Miss as much as I can. 

She married her sweetheart and crafted through all of her years.


She had a sewing business where she specialized in slip covers for furniture but I know her for her doll making. She was a wonderful doll maker. And I have many of her creations.


She made me my own family...they are tiny tiny dolls with tiny tiny hand stitches. So much love went into this gift for one of my birthdays.

 
She created so many dolls for so many family and friends. And the fun part was many of her patterns she created. Other then my marriage papers, I never thought slips of paper could mean so much. She gave me all of her hand-written, manufactured, and published doll patterns. What a priceless gift. 


I am so excited to buy supplies and give doll making a try. It is an honor to be given so many great gifts from my Grandmama. She was full of sass and words of wisdom. 

I love you and miss you already Grandmama. Thank you for being the 'crafting' guide I needed. 

Kelly


The following is the published obiturary: 
 
Carol Patricia Culver In Loving Memory
Carol Patricia Culver
8/8/1928 - 12/13/2013


Carol Patricia Culver, 85,
formerly of Durand died at 2:35 a.m. Friday, December 13, 2013 in Fair Oaks
Nursing home from natural causes.
Born August 8, 1928 in Dekalb, IL
to Mr. and Mrs. Harry and Mary (Knudtson) Joslin. Lived 14 years in the Durand
area. Married to Howard G. Culver in Plainfield, IL on November 17, 1951.
Member of Bible Baptist Church of Harrison. Owned and operated her own sewing
business for 25 years specializing in slip covers. Enjoyed reading; especially
murder mysteries, and crafting. Carol loved spending time with her children,
grandchildren, and great grandchildren.
Survivors include sons, Tim
(Wendy) Culver of Johnston City, Tom (Ann) Culver of Wheaton; daughters, Terri
(Garry) Patton of Depue, Tracy Culver of Minooka, Tamara (Dennis) McCorkle of
South Beloit, Tina (Delmar) Butt of South Beloit; sons, Ted (Diana) Culver of
Broadview, Toren (Regina) Culver of Earlville; adopted daughter, Char Ward of
Minooka; 20 grandchildren; 26 great grandchildren; sisters, Louise, Rosemary,
Irene, Anna; brother, Russell; and numerous nieces and nephews. Preceded by
parents; husband; 2 infant children; and brother, Tom.
Funeral ceremonies will be held at
12:00 p.m. Tuesday December 17, 2013 in McCorkle Funeral Home, 767 N. Blackhawk
Blvd. Rockton, with Pastor Phillip Willard of Bible Baptist Church of Harrison
officiating. A visitation will be held in the funeral home from 10 to time of
service Tuesday. Burial in Fairview Cemetery, Dekalb at a later date. Memorials
may be given to Bible Baptist Church of Harrison, 11878 Genesee Street,
Harrison,IL (source:http://funeralhomeweb.us/restinpeacePT.aspx?MemberId=128606&MName=Carol%20Patricia%20Culver&FLVId=)


Monday, November 18, 2013

Handmade Mania week 8

Whoa! Another EPIC week flew past gang!! This past week #handmadelove Handmade Mania link up was amazing! 53 links and over 250 views!! Thank you so much for making this so much fun!! Starting this week I will be featuring a "gift" item! Everything linked up would make amazing gifts for Christmas, so I thought I would choose one that fits my list I have for gifts!

The 'Gift' item that I just know would fit is this Gadget Mon-stor from Lu & Ed.


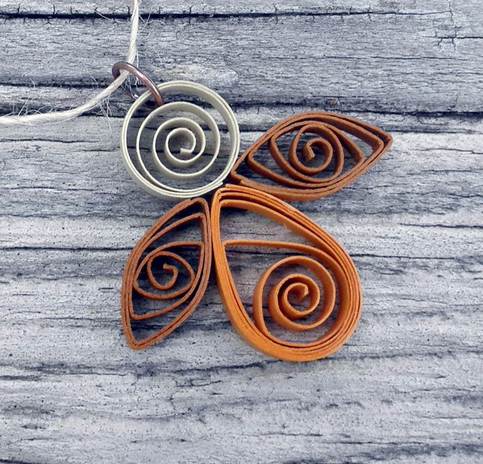
The most viewed is this amazing Quilled Angel Ornament by Lady Lack Designs.


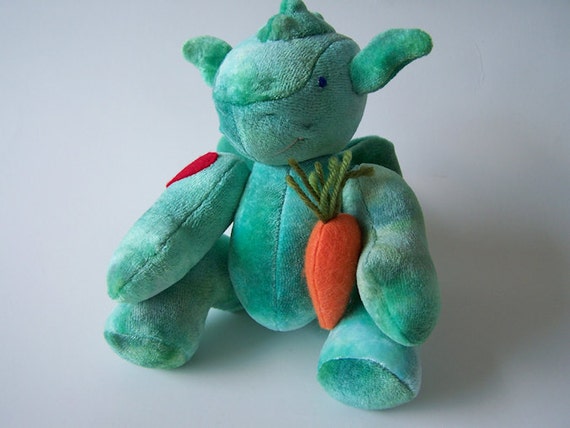
And Staff pick (my daughter - she choose an item with brother in mind) is this adorable Mini Dragon plush toy by Turk and Bean.


There were so many adorable #handmade things, it was SUPER hard to settle on just a few things!! Thank you so much for making this link up fun!! Lets help it grow by sharing it with others!! The more people who join in the more your products are shared!! ☺ 


Remember if you make it with your own hands you can link it up no matter the platform! 

~RULES~

You can link up to two individual products from your shop below for some networking/sharing fun! Select two products from the collection to share via social media using #handmadelove so I can find and share what you have shared. And please share in a comment what two products you share and where. Thank you!

(Do not share to Pinterest without the express permission from the shop owner.) 

By doing this, you'll be able to share EPIC handmade goodness and build shop your network! Also, Please share this link up with someone else. The more people we have join in, the more our items will be shared! I am super excited to share some EPIC Handmade Goodness!! ☺

How to link up:
Click "add your link"
Box 1: add the URL to your individual product
Box 2: add the product description
Box 3: put in your email address
Submit then select a thumbnail photo! ☺

You never know, your item might be the feature of next week’s link up!! ☺Have an EPIC fun day!


Kelly